There are about a million different lawn sprinkler heads available through the locall ironmonger (i.e., Lowe's), which seem more flexible than the plain old hose sprinklers you can buy off the shelf. Hose adapters which allow use of the sprinkler heads are available, but they are rather overpriced. So let's build our own!
Buy this stuff:

a sprinkler head of your choice (remember, there are a million of them to choose from...)
a section of 3/4" Schedule 40 PVC pipe (10 ft length)
one 3/4" Tee fitting
one 3/4" slip-and-threaded Tee fitting (Note: my Lowes and Home Depots were out of these, so I had to use another regular Tee and a 3/4" slip to threaded coupler and a short piece of pipe to connect them. This is not as good, because it makes the sprinkler head higher off the ground, and it's more work.)
two 3/4" end caps
a 3/4" to female hose fitting (These are usually near the sprinkler heads, instead of with the pipe fittings.)
a short 3/4" sprinkler head riser (a pipe threaded on both ends)
some PVC cement
The pipe and fittings cost about $6.00, the cement was about $4.00, and the sprinkler head was $10.00. Total cost about twenty bucks, and you have enough pipe and cement to make at least two more adapters - the next adapter would cost less than $4 plus the head. (The store-bought adapters are about $25 without a head.)
Now, let's get to work.
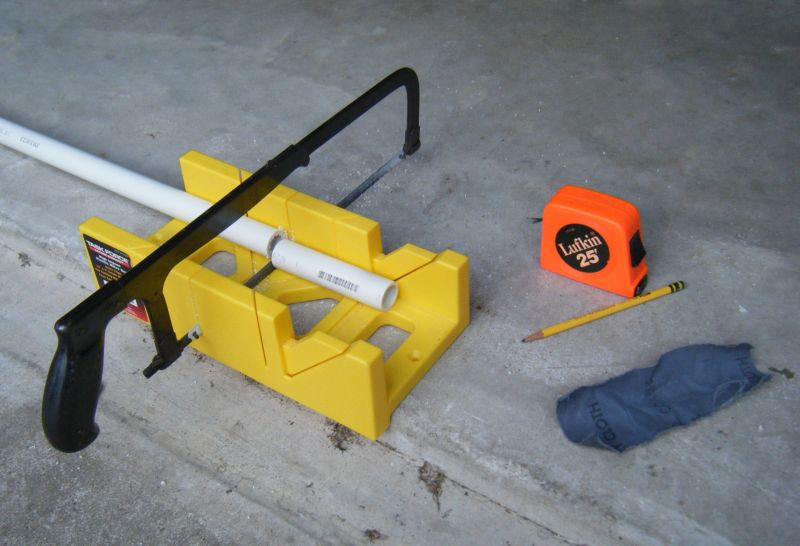
Cut the pipe into several pieces. You can make the ends nice and square if you use a miter box. (I found out that my table saw works great for cutting plastic pipe.)
The pieces shown are
1 ea 2 inches long
1 ea 4 1/2 inches long
2 ea 8 inches long
1 ea 10 inches long
(I think it would look better if the last piece was 8 inches instead of 10, so next time I will use three 8 inch pieces. Besides, 2 - 4 - 8 is a nice geometrical progression!)

After the pieces are cut, use some course emery cloth to remove the burrs, smooth the corners and rough up the ends of the pipe pieces and insides of the fittings. That makes the glue work better.
Now we start gluing pieces together. The instructions on the cement can are quite good. I made up these sub-assemblies so that I didn't get too many parts glued together wrong, and to make final assembly easier. (The piece on the lower right would not have needed the short pipe and adapter that points downward in the photo if I could have found the slip-thread Tee.)

The last, and only critical step, is gluing the upright part to the horizontal part so that it is vertical. Otherwise, your sprinkling pattern would be asymmetrical. (On the other hand, if you are going to be sprinkling on a hillside, you might WANT to make it crooked.)

See - it looks pretty plumb.

And here is the final product. (We use quick-connect hose couplings for convenience.)

That's a gear-driven pop-up rotary head. Now I have to go read the instruction book on how to adjust it.
For some reason my comment from day before yesterday didn't post.
ReplyDeleteIt looks impressive - I hope we get to see some pictures of the trenches as well!